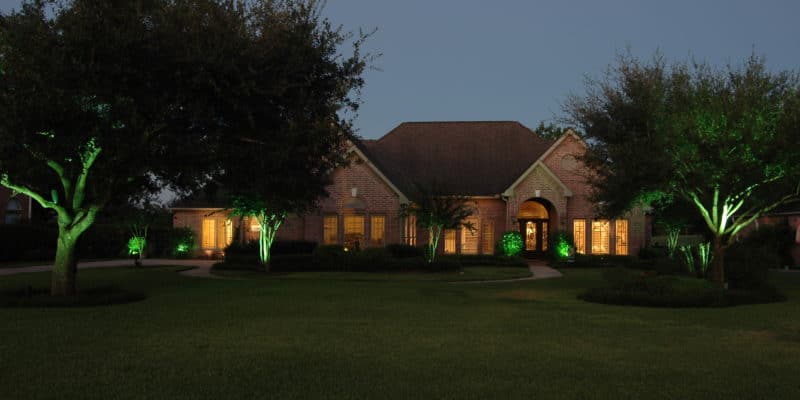
5 Easy Steps For Designing Your Landscape Lighting In Houston
If you are looking for that creative way of adding some beauty, drama, and allure to your yard and home garden, why not consider landscape lighting? Below are five things you can do to come up with a distinctive, functional, lighting design that illuminates the best features of your home exterior at night.
1. Form Ideas For Your Landscape Layout
Take a stroll in your yard during the day, taking a keen look at key focal points and then repeat the same when the sun goes down. The idea is to find out how well that water fountain, stoic oak tree, those juniper shrubs and the best of blossoms appear in the veil of night. You also can check out the wall with its fine travertine capstones and the majestic faced looks. Such focal points in your garden will help you come up with how you will install the lighting so align with the flow of the layout of your landscaping. The lights can define these features during the night, and some can also be installed to liven up other zones such as the deck, porch, or driveway.
2. Sketch The Landscape
Once you have an image in your head of what you want to achieve when landscape lighting, it is time to put it down on paper. Sketch it starting with the perimeter, then the buildings, the paths and driveway, decks, vegetation, and any decorative features you have in your garden. Ensure that you include all the focal points you identified, detailing their location and dimensions. Do this in an existing landscape lighting so that you can determine whether you will need 12V or 120V landscape lighting systems.
3. Select The Lighting Fixtures
Every zone of the exterior of your home may have unique attributes and thus require the right lighting. You will, therefore, have to consider two things. The size of your garden in relation to the lighting layout and the existing lighting systems that you leverage. When selecting the fixtures, options for this can range from in-ground lights to accent and floodlights, among others. Robert Huff Landscape Illumination offers an array of options that account for elements such as beam density and width, and illumination color.
You can have these fixtures from Robert Huff Landscape Illumination in either 12V or 120V systems made in k-alloy aluminum or solid die cast brass with both finished in bronze for enhanced protection against marine grade environments as well as corrosion in wet areas.
4. Fixture Spacing
For installation, the recommended spacing for the lead wire should be 6ft with room left for adjustments on the site.
5. Wire Runs, Power Supplies, and Final Layout
The last step is bringing what you have on paper to life. For a 12V low-voltage landscape lighting system, you will need several runs of wire from the main transformer to the lighting fixtures. It is possible to have your entire system powered from a single source, especially if you have a transformer that’s connected directly into a standard receptacle electricity outlet.
However, how big of a transformer need will be subject to the number of lighting fixtures used and their wattage demand. The transformer should ideally have a capacity of 75watts to 600watts. And when installing the landscape lighting, remember to leave some room for future expansions, such as adding a new garden feature or planting a tree, so that you can also highlight it with the existing fixture. It will eliminate the need for revising the current landscape lighting setup whenever you bring in something new into your yard. You also should consider installing a timer for controlling the lights based on the time of the day; automated photocell fixtures can also suffice.
If you would like to discover more tips and tricks from Robert Huff Illuminations; visit our blog. Call or contact us today for more information!

